Understanding Pfeil Swiss Made Carving Tools
Not sure how to choose the right tool for your project? Let’s break it down.
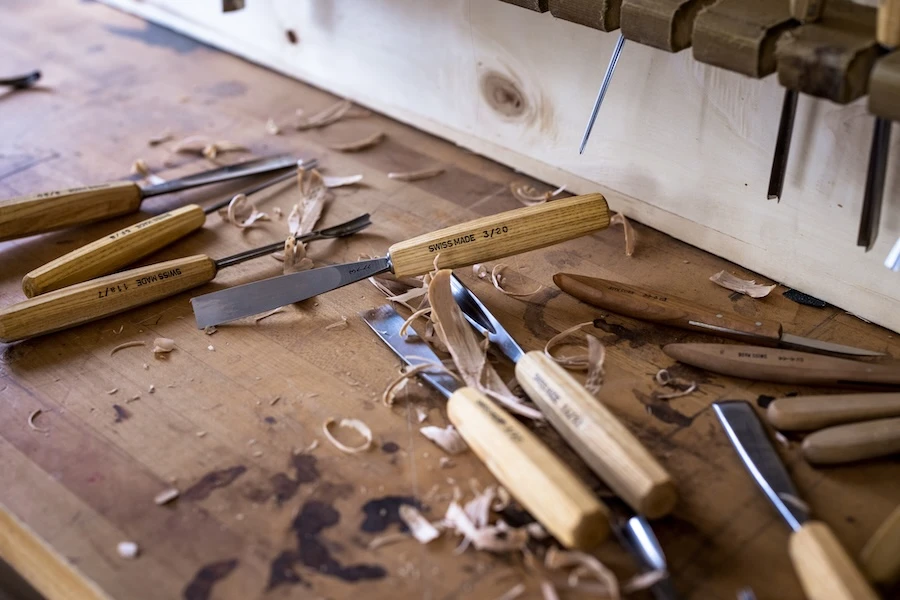
As you may have guessed from the name, these tools are made in Switzerland. Their superb quality is recognized world wide. And they come sharp… VERY sharp – be extremely careful.
Pfeil Swiss Made offer what is likely the worlds largest selection of carving tools and related items. The selection is so vast that it can be confusing to understand what is what. They do have an online catalogue which is extremely helpful, and we recommend bookmarking it – this is a great reference to explore the full selection of their extensive tool line.
But to help cut through the confusion, knowing how the numbering system works will make it much easier to know what each tool is. The key to understanding their tool sizing lies in the part numbers – let’s get into a full breakdown here, so you can choose the tool most suited for your project. As always, if you need more assistance, feel free to contact us and we’ll do our best to help you.
Standard sized tools:
Pfeil’s standard sized tools are 10″ in length. Most of Pfeil’s part numbers are made up of 2 numbers, divided by a slash. The number before the slash is the tool’s profile number – in other words, the shape of the blade. A #1 is a flat tool, like a chisel or skew. As the numbers increase up to #11, the curve of the tool increases. An #11 is a full U shape.
Tool profiles #12 – #16 are V shaped tools; increasing numbers representing a tighter angle. Profiles #17 and above are fairly specialized. For those tools, be sure to refer to the catalogue.
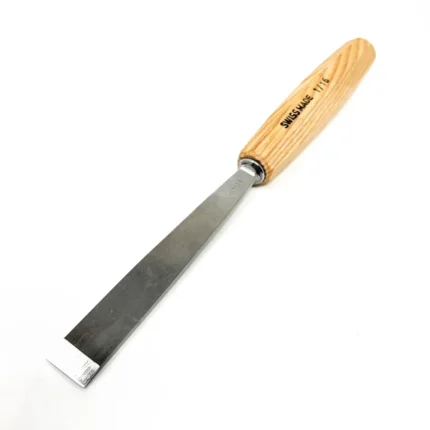
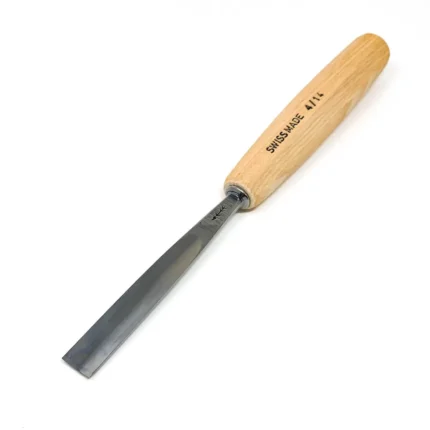
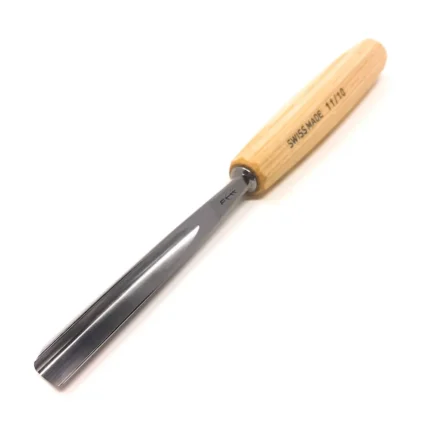
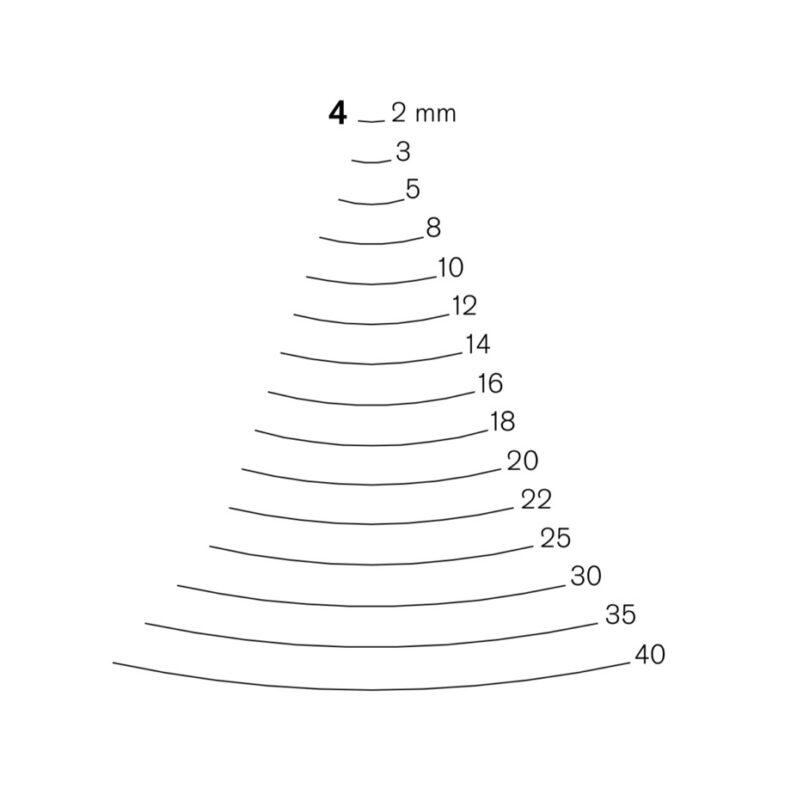
Below are some image examples of tool profiles #1, #4, and #11. You can get an idea here of the gradual curvature increase as the tool profile number increases.
(images coming soon)

The number after the slash is the tool’s blade width in millimeters. So, for example:
A #1/20 tool has the shape of a #1 profile (flat) and a blade width of 20mm.
#4/12 has the shape of a #4 (a gentle bend), with a blade width of 12mm.
#11/7 has the shape of an #11 tool (full U shape), and a blade width of 7mm.
As you may have noticed in the #1 tool profile image above, some of these carving tool profiles contain letters. These letters are used to distinguish the different cut angles at the tip of the blade. Here’s how that works:
- Some of the profile numbers are followed by the letter “e”, for example, 1e/12. This indicates a single bevel cut. The standard flat tools are double bevelled, but are also available in single bevel, which is indicated with the “e”.
- The letter “S”, like in a 1S/12, indicates the flat tool is an angled skew.
- The letter “a”, as in a 7a/14, indicates a spoon gouge, which has a pronounced scoop in the end of the tool, similar to a spoon.
- The letter “L” indicates a long bent blade, as in a 7L/20.
- The letter “F” indicates a fishtail blade, which flares out at the end, like a 3F/8.
Smaller tools:
Pfeil also carries a selection of 8″ tools with smaller handles, ideal for smaller hands. This series uses the letter D in front of the number, for example, D1/12.
Another category worth exploring is their selection of palm and lino tools. These are almost all interchangeable as palm tools, but technically speaking, the lino tools were originally designed for carving linoleum blocks. The palm tools have the letter B in front of the number, the Lino the letter L. See the images below as a reference:


Those are the basics… Now that you have a greater understanding of their number and letter system, you’ll have a basic idea around what the tools are. But Pfeil’s selection goes on and on with scorps, adzes, axes, standard wood chisels, and more.
We stock a large selection of these tools for immediate shipment, and have almost entire line available to ship within 1 business day of placed orders.
SAFETY NOTE – these tools are sharp…use standard safety precautions. Never pull a chisel or gouge toward you. Never put your hand in front of the cut. Handle with care.