How to Use Pfeil Swiss Made Linoleum Block Cutters for Printmaking
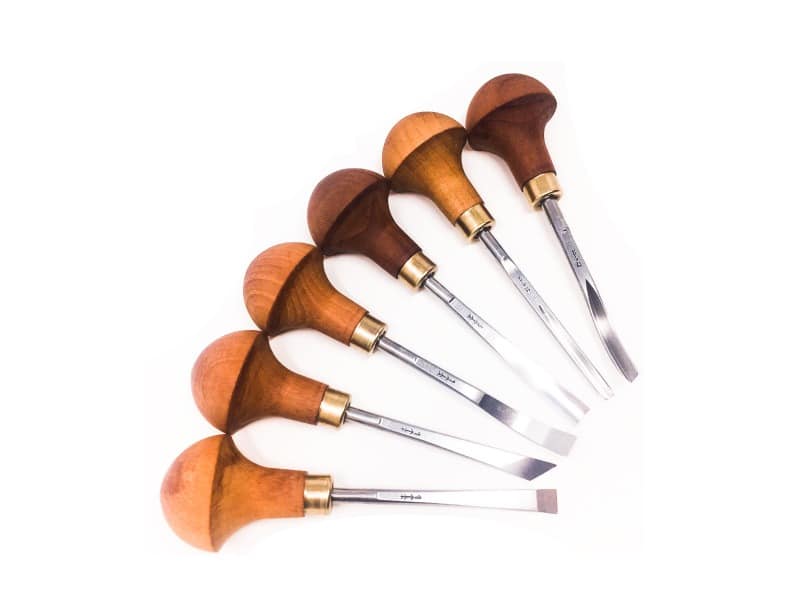
Interested in trying out print making but don’t know where to begin? We have the tools to get you started.
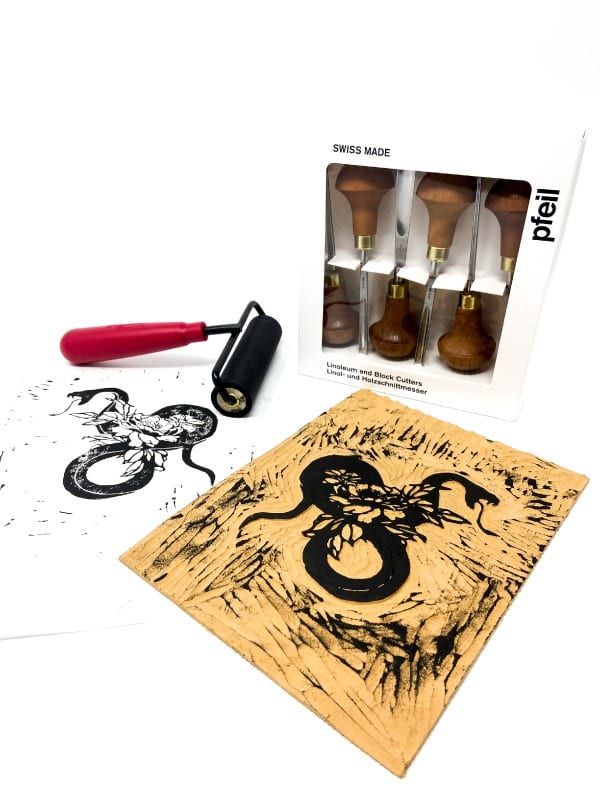
Not only is Pfeil known for their high quality wood carving tools, they are also known by amateur and professional printmakers for making the best linoleum block cutting tools. Pfeil Swiss Made linoleum block cutters are made with a “palm handle” for extremely high-detail work. They are praised for smoothly carving deep or shallow lines into linoleum blocks without snagging.
Printmaking for Beginners
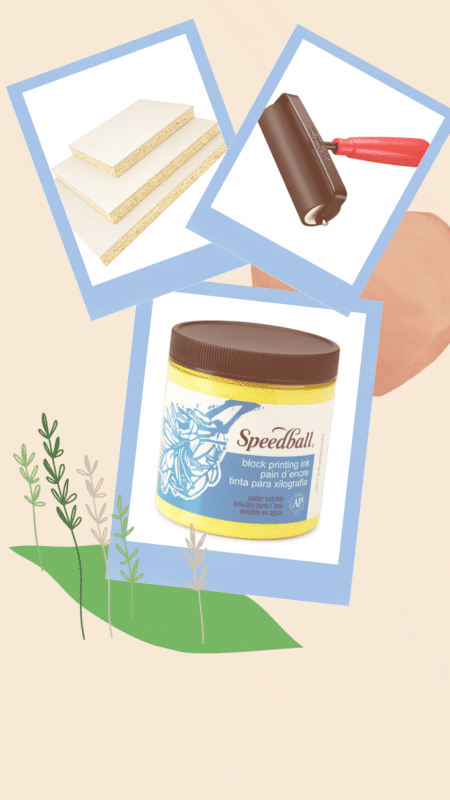
If you are interested in experimenting with printmaking for the first time, Pfeil Swiss Made Linoleum Block Cutters are easy to use. Linoleum print is a relief print where the image is made by carving out parts of a linoleum sheet. When the linoleum block is carved, ink is applied with a brayer (basically a smooth, rubber roller). The carved out surfaces become the positive space of the image where the ink doesn’t touch. Linoleum sheets, brayers and ink can be purchased in craft stores everywhere.
The image is transferred to paper by pressing the linoleum block onto it.
Linoleum block cutting is favoured by printmakers because linoleum blocks are durable and if stored properly can be reproduced many times. A linoleum block print is perfect for crafts like card and poster making.
Below we’ve outlined for you a basic tutorial on how to use Pfeil Linoleum Block Cutting Tools to create a linoleum block print.
- Deciding on your linocut design. Instead of digging right in, start by making a sketch on paper or your tablet of the design you envision. If you’re new to linocutting, you might want to start with a less detailed design to get a feel for the process.
- After coming up with your plan, you can sketch your final design on paper and transfer the image to the linoleum block using graphite paper or draw directly on the block. We prefer the graphite paper method.
- Remember as you begin carving your block that what is carved out of the block will not be printed in the image. Also keep in mind that the image will be printed in reverse. This is an easy mistake to make!
- For safety purposes, always carve away from your other hand (Pfeil tools are sharp!). We recommend using a bench hook to hold your block in place.
- Once your image is carved it’s time to roll on some ink! Using a brayer and even pressure, roll the ink onto the lino block. Be careful not to use excess ink on the roller as too much can cause it to sink into the lines you carved, ruining your final image. This might take a little practice to figure out the right amount of ink and pressure to use. But that’s the beauty of lino block printing-you can try and try again! Also, sometimes a non-perfect transfer can be a really cool look in and of itself.
- When you have the ink evenly distributed on your block with the ink side up, place your paper on the block. Using the back of a spoon, gently smooth the paper down over the block so that the paper picks up all the colour.
- Finally, lift the paper off the block and turn it right side up to allow the ink to dry. And voila, you have your first print!
Profiles of the Different Linoleum Block cutters by Pfeil Swiss Made
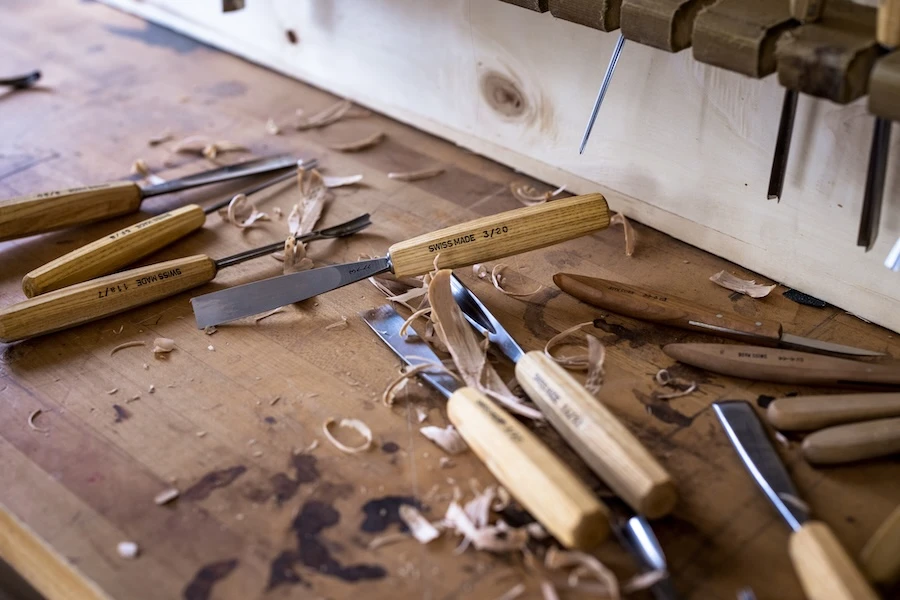
Most of Pfeil’s part numbers are made up of 2 numbers, divided by a slash. The number before the slash is the tool’s profile number – in other words, the shape of the blade. A #1 is a flat tool, like a chisel or skew. As the numbers increase up to #11, the curve of the tool increases. An #11 is a full U shape.
Tool profiles #12 – #16 are V shaped tools; increasing numbers representing a tighter angle. Depending on your project and the cuts you desire to make in linoleum, these profiles can help you choose the linoleum block cutters that are right for you.

At Woodworker Specialties we sell each linoleum block cutter separately as well as in sets. As always if you have any questions about our tools please feel free to give us a call toll-free at: 1-866-254-6305 or email csr@woodworkerspecialties.com.

