


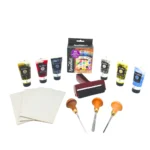

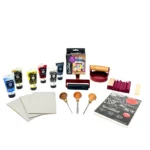

Lino Block Printing Starter Kit
$179.99 CAD
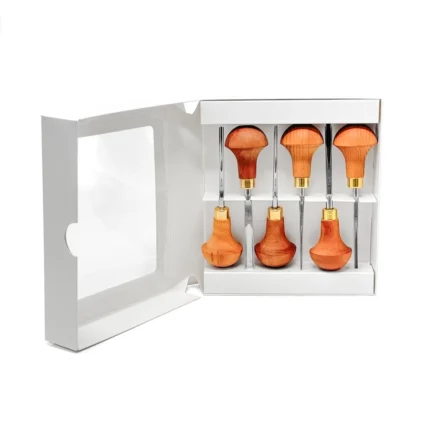
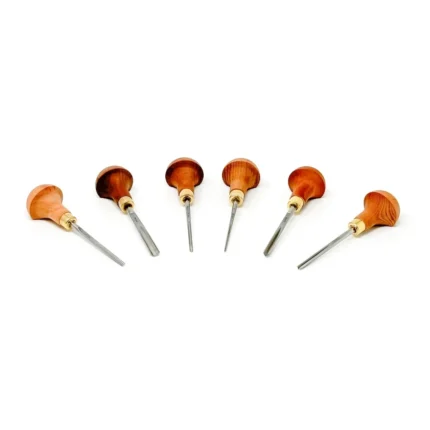
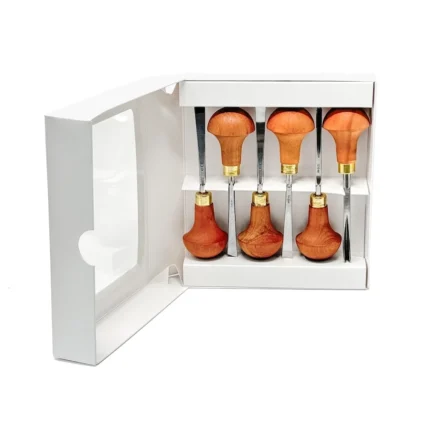
What's Included in the Lino Block Printing Starter Kit:
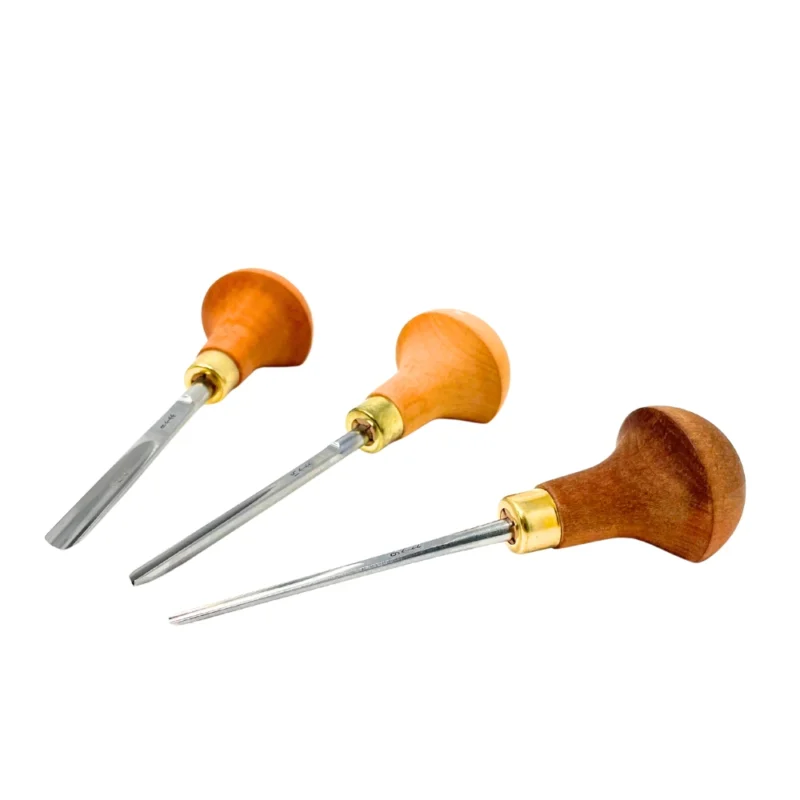
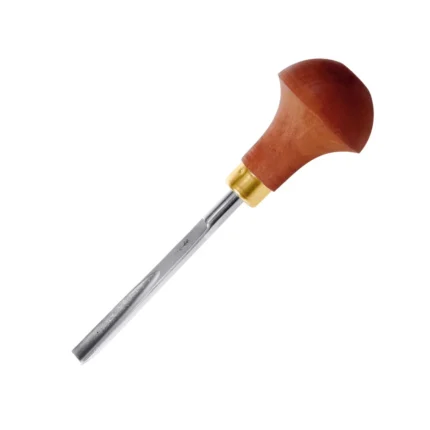
Pfeil Swiss-Made Lino Carving Tool Profiles:
- #L8 x 7mm Gouge
- #L9 x 2mm Gouge
- #L15 x 2mm 45 deg. V Parting Tool

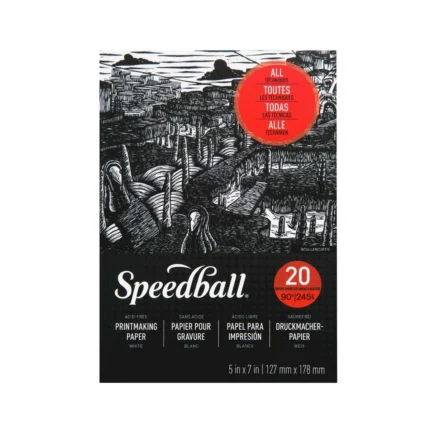
Step-by-step guide on block printing (On Paper):
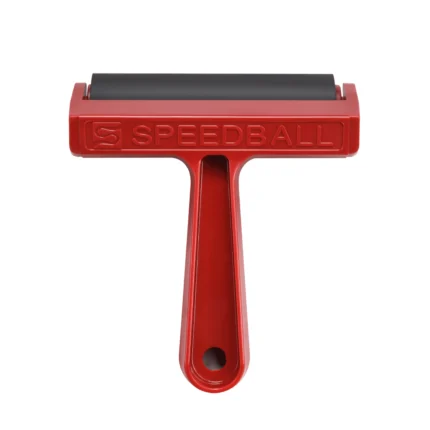
Linocut, also known as lino print, linoleum block print, or linoleum art, is a printmaking technique in which a sheet of linoleum (sometimes mounted on a wooden block) is used for a relief surface. A design is cut into the linoleum surface with a sharp knife, the raised (uncarved) areas representing a reversal (mirror image) of the parts to show printed. The linoleum sheet is inked with a special roller called a brayer, and then impressed onto paper or fabric. As a result, you’re left with a custom paper print.
If you’re new to print making or would like to know more about the process, continue reading below and we will instruct you through your lino print making experience. Not only will you create something beautiful, but also you’re bound to enjoy the undoubtedly methodical and meditative artistic process that is lino cut carving.
Let’s Get Started.
- Prepare Your Design: First, you’ll start by creating or selecting a design that you want to transfer onto your block. You can draw your design directly on the block or transfer it using tracing paper.
- Carve the Block: Now that your design is ready, you’ll carefully carve away the space on a linoleum block, using the carving tools of your choice. It’s important to remember to carve away the areas that you do not want to be printed, leaving the raised areas to become your design.
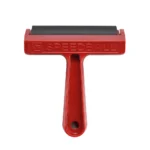
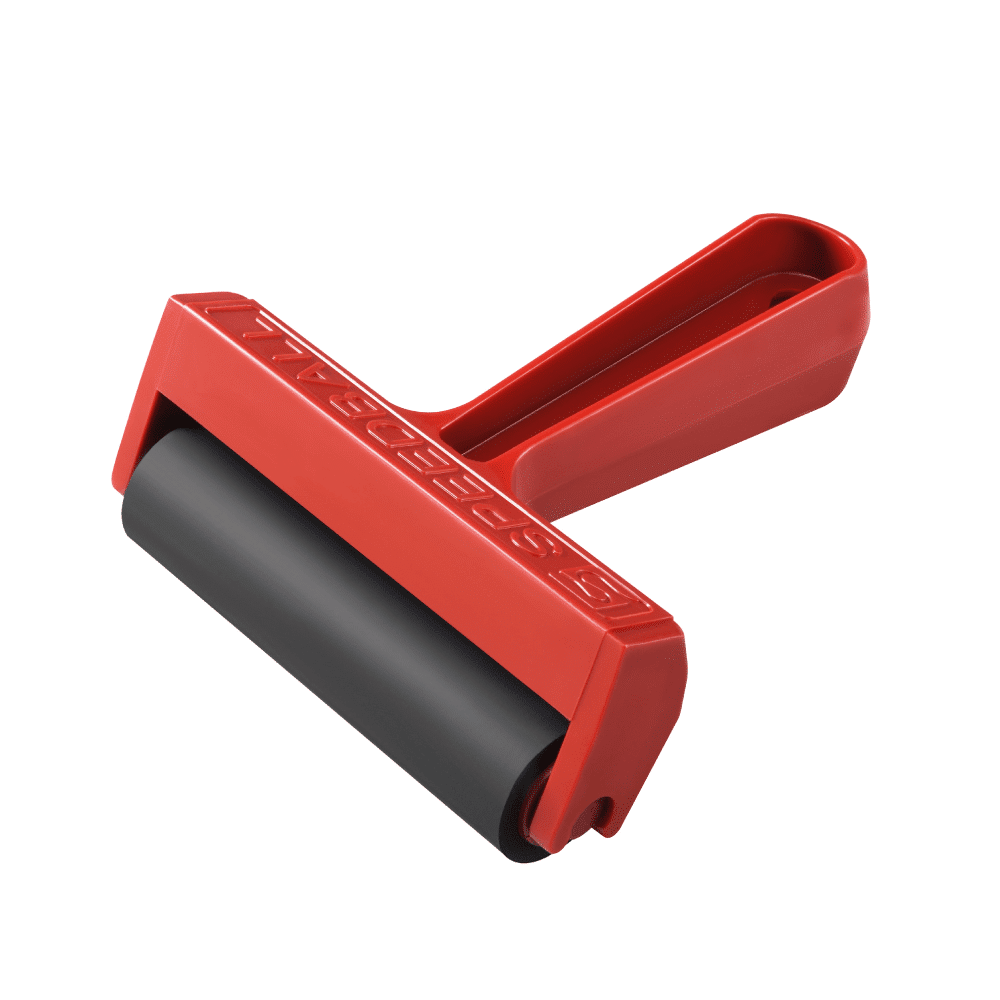
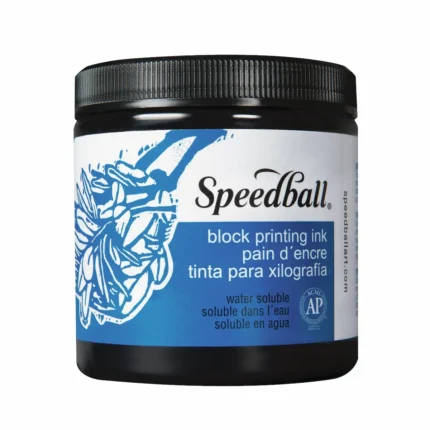
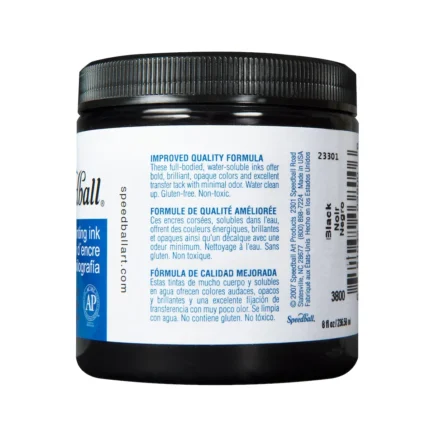
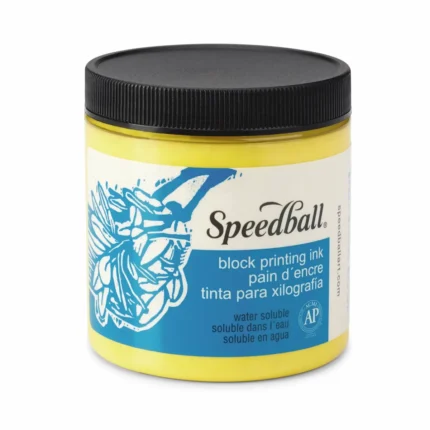
- Ink the Block: Next, you will apply block printing ink evenly onto the surface of your carved block. You can use a brayer (roller) to ensure a smooth and even layer of ink.
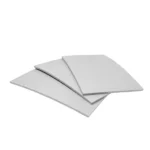
- Prepare the Paper: Cut the Speedball paper to the desired size if needed.
- Position the Paper: Carefully place the paper over the inked block. Ensure that it is aligned correctly if you are aiming for precise placement.
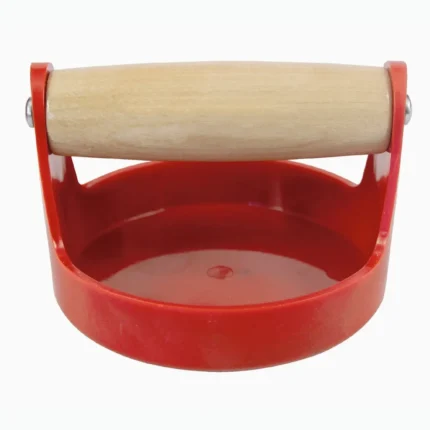
- Transfer the Image: Press your paper onto the block firmly, using a baren. You can also use a book or your hand. However, a baren will help with a more even ink transfer.
- Lift the Paper: Gently peel the paper away from the block. Be careful not to smudge the print. Allow the print to dry completely on a flat surface.
- Clean Up: Lastly, you’ll want to clean your block and tools immediately after printing, otherwise the ink will become dry and difficult to remove.
Get your Lino Block Printing Starter Kit today and start crafting!
All tools included in kit:
| Carving Tool | L 9/2 |
| Carving Tool | L 8/7 |
| Carving Tool | L 15/2 |
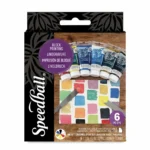
| Ink | SB-003470 |
| Brayer | SB-004128 |
| 4x6 Lino (x3) | SB-004365 |
FREE SHIPPING
On Orders $100 or more within CANADA and the USA

Tariff Information for U.S. Orders
All product prices in USD on our website include current USA tariffs, and orders ship DDP (Delivered Duty Paid). This means that all shipping, duties, and taxes are prepaid. No surprises — what you see is what you pay.
The tariffs on orders to the United States is a developing situation. We’ll continue to update this page as shipping timelines or tariff policies change.
If you have questions, please contact us here.
Shipping Rates and Delivery Expectations
UNITED STATES
FREE SHIPPING On All Orders $100 USD or more!
These shipping rates apply only to items sold directly from this website, and are for shipments to the USA. Please don’t hesitate to contact us if you have any questions.
SHIPPING RATES:
Order Total | Shipping Charge to USA | ||
|---|---|---|---|
Up to $99.99 USD: | Flat Rate of $11.95 USD | ||
$100 USD and over: | FREE SHIPPING |
DELIVERY EXPECTATIONS:
Most orders to the United States (barring heavier items) are shipped Via UPS Expedited, which is a 2 business day service.Heavier items (nailes, larger lathe parts) will ship UPS standard
CANADA
FREE SHIPPING On All Orders $100 CAD or more!
These shipping rates apply only to items sold directly from this website, and are for shipments to the Canada. Please don’t hesitate to contact us if you have any questions.
SHIPPING RATES:
Order Total | Shipping Charge to Canada | ||
|---|---|---|---|
Up to $99.99 CAD: | Flat Rate of $11.95 USD | ||
$100 CAD and over: | FREE SHIPPING |
DELIVERY EXPECTATIONS
Most of our Canadian orders are now shipped via UPS, Fedex, Purolator, or Canada Post on a 2 - 7 day service, however smaller and more remote destinations may take longer to receive their orders.
Heavier items such as nails and some heavy lathe parts will be shipped by ground and may take up to 7 - 10 days to arrive, depending on location.
GREAT BRITAIN, Countries of the EUROPEAN UNION, and MEXICO
Shipping Rates and Options Shown at Checkout.
Any applicable DUTY, VAT, or BROKERAGE FEES will be charged by your country prior to delivery. Please be aware of your local rates.


Reviews
There are no reviews yet.